Sometimes a cast iron pan needs more than a reseason. It needs a fresh start.
Maybe you found a vintage piece at an estate sale buried under decades of carbon buildup. Maybe your Lodge skillet has a rough factory finish you want to smooth out. Maybe someone used your pan to cook tomato sauce for three hours and the seasoning is destroyed. Or maybe you just seasoned with the wrong fat and the surface is a gummy disaster that no amount of scrubbing will fix.
Whatever the reason, the solution is the same: strip it down to bare cast iron and rebuild the seasoning from scratch.
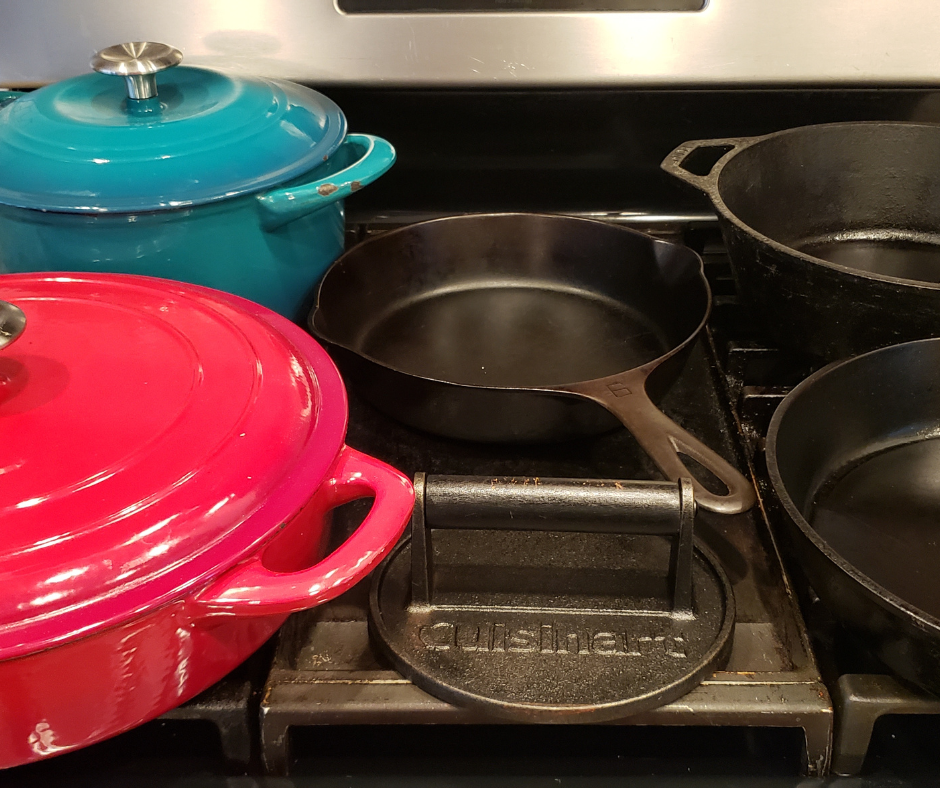
I've refinished multiple pans this way - including a vintage Griswold #6 that was given to me as a Christmas gift from a friend at work. When I got it, it was covered in old carbon. After stripping, cleaning, and reseasoning, the bottom was smooth as glass. It's now one of the best performers in my kitchen, and I think of the friend who gave it to me every time I use it.
This process works on any cast iron pan: vintage, modern, enameled exteriors with exposed cooking surfaces, Dutch ovens, griddles. If it's cast iron and it needs a reset, this is how you do it.
When to Refinish vs. When to Just Reseason
Just reseason when the seasoning is thin, spotty, or mildly damaged. A few extra oven coats or stovetop sessions will rebuild it without stripping. This covers most situations - food sticking more than usual, minor surface roughness, small areas of exposed iron.
Full refinish when:
- The seasoning is gummy, sticky, or layered with the wrong oils (seed oils especially)
- There's heavy carbon buildup that's created an uneven, lumpy surface
- You want to remove the factory texture on a modern Lodge pan to create a smoother cooking surface
- You're restoring a vintage or neglected pan to its original condition
- Rust has spread across significant areas of the surface
- Someone cooked acidic foods long enough to destroy the entire seasoning layer
If you can scrub it smooth and reseason successfully, do that first. Full refinishing is the nuclear option - effective but more work.
What You Need
- Easy-Off oven cleaner (the yellow can - heavy duty, with lye). This is what does the stripping. The lye dissolves the polymerized fat layer and the carbon buildup.
- Heavy-duty garbage bags (large enough to wrap the pan)
- Rubber gloves - lye burns skin. Not optional.
- Eye protection - lye in your eyes is an emergency room visit. Not optional.
- Copper scrub pad - for cleaning the bare iron after stripping
- Steel wool (fine grade, 0000) - for final smoothing if desired
- White vinegar - to neutralize any remaining lye
- Paper towels
- Your chosen seasoning fat (beef tallow, beef fat, or lard)
- Well-ventilated area or outdoors - the fumes from oven cleaner are strong
The Process - Step by Step
Phase 1: Strip the Seasoning
1. Prepare your workspace. Do this outdoors or in a very well-ventilated garage. Lay down newspaper or cardboard. Put on your rubber gloves and eye protection before you touch the oven cleaner.
2. Spray the entire pan with Easy-Off. Coat every surface - cooking surface, sides, handle, bottom, any lip or edge. The pan should be dripping with it. Don't be conservative.
3. Seal the pan in a garbage bag. Wrap it tightly. The bag holds the oven cleaner in contact with the surface and traps the fumes so they keep working. Place the bag somewhere safe - outside, in the garage, wherever it won't be disturbed.
4. Wait 24-48 hours. The lye needs time to dissolve decades of polymerized fat and carbon. One application may be enough for lightly seasoned pans. Heavy carbon buildup (especially on vintage pieces) may need a second application.
5. Unwrap and scrub. Wearing gloves, remove the pan from the bag. The old seasoning should be soft, dissolved, or flaking. Scrub under warm water with a copper scrub pad. Work the entire surface in circular motions. You'll see the old black coating come off, revealing gray bare iron underneath.
6. Check for remaining buildup. If patches of old seasoning persist, reapply Easy-Off and repeat the bag step for another 24 hours. Some heavily carbonized pans need 2-3 rounds. Don't rush this - half-stripped is worse than not starting.
7. Neutralize the lye. Once the pan is stripped to bare iron, rinse thoroughly with water, then wipe the entire surface with white vinegar. This neutralizes any remaining lye residue. Rinse again with water.
8. Dry immediately. Bare cast iron rusts fast - within minutes in a humid environment. Towel dry completely, then put it on the stove over high heat to drive off all moisture. Don't wait. Don't set it aside and come back later. Dry it now.
Phase 2: Inspect and Smooth (Optional)
Once stripped, you can see the true condition of the iron. This is when you decide if you want to smooth the surface.
Vintage pans (Griswold, Wagner, etc.) were milled smooth at the factory. After stripping, the cooking surface should already be glass-smooth. If there's any lingering roughness from rust pitting, fine steel wool (0000 grade) can help, but the goal is to preserve the original mill marks.
Modern pans (Lodge and similar) have a pebbly, textured factory finish. This texture is functional - it holds seasoning. But if you want a smoother cooking surface closer to vintage quality, you can sand or grind the cooking surface. This is more advanced and time-consuming. For most people, reseasoning the textured surface and letting cooking smooth it over time is the easier path.
Phase 3: Reseason From Bare Metal
The pan is now raw iron with zero protection. You need to build a full seasoning immediately.
1. With the pan still hot from the drying step, apply a thin coat of beef tallow (or beef fat, or lard) to the entire pan. Every surface. Use a thick fold of paper towels - the pan is dangerously hot and the fat gets searing hot on contact.
2. Wipe off the excess. The pan should look dry, not glossy. Too much fat creates gummy spots. Thin is everything.
3. Place upside down in a 450-500°F oven on the middle rack. Put foil on the rack below to catch drips. Bake for 1 hour.
4. Turn oven off. Let cool to room temperature inside.
5. Repeat 4-5 times total. Five coats of tallow on bare iron builds a solid foundation.
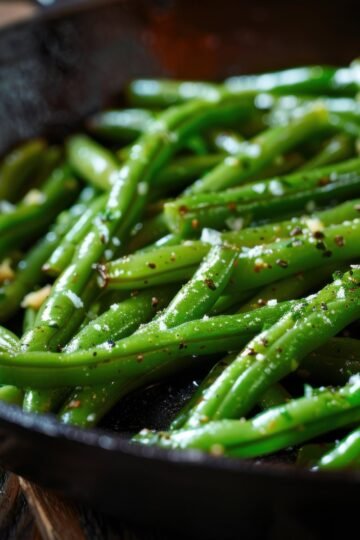
6. After the final coat, fry in the pan immediately. Potatoes in tallow. Eggs. Anything. The cooking accelerates what the oven started. After a few rounds of frying, the finish should be noticeably smooth and nonstick.
What to Expect After Refinishing
A freshly refinished and reseasoned pan won't look like your 20-year-old daily user. The seasoning will be thin and the surface may look bronze or brown rather than jet black. That's normal. The deep black color comes from accumulated seasoning over months and years of cooking.
The performance, however, should be immediate. A properly tallow-seasoned surface - even a new one - will be nonstick enough to fry eggs without sticking. If it's not, you either used too little fat per coat, the oven wasn't hot enough, or you need another round of seasoning.
Within 2-4 weeks of daily cooking, the pan will darken, the surface will smooth further, and the seasoning will feel established. Within a few months, you'll wonder why you waited so long to refinish it.
Safety Reminders
Easy-Off oven cleaner contains lye (sodium hydroxide). This is what makes it effective - and what makes it dangerous if handled carelessly.
- Always wear rubber gloves. Lye burns skin on contact.
- Always wear eye protection. Lye in eyes is a medical emergency.
- Work in ventilation. The fumes are strong and irritating to lungs.
- Keep away from children and pets during the stripping phase.
- Never use on enameled surfaces you want to keep. Lye will destroy enamel coatings. It's fine on pans where the entire surface is bare or seasoned cast iron.
- Neutralize with vinegar before reseasoning. Don't skip this step.
Is It Worth It?
For a vintage Griswold or Wagner? Absolutely - you're restoring a cooking surface that can't be manufactured today. The smooth mill finish on old pans is superior to anything on the modern market, and a properly refinished vintage pan will outperform pans costing hundreds of dollars.
For a modern Lodge? It depends. If the factory seasoning is gummy from seed oils, or you want to start fresh with tallow, refinishing makes sense. If you just want a smoother surface, the time investment of stripping and smoothing a modern pan might be better spent buying a smooth-milled pan from a boutique manufacturer.
For a neglected or rusted pan found at a garage sale? Always worth trying. Cast iron is almost impossible to destroy permanently. A $5 estate sale pan, refinished and seasoned properly, can become a generational piece.
For the seasoning method that goes on after the strip, see How to Season Cast Iron With Beef Tallow.


Was this helpful?
You must be logged in to post a comment.