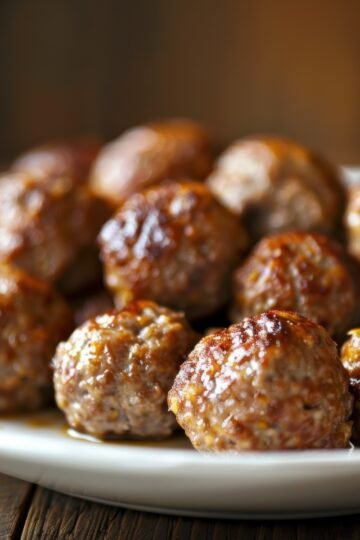
Stew Beef
Equipment
- Dutch Oven
- Cast iron skillet
- FoodSaver Vacuum Sealer
- FoodSaver 1-Gallon Bags
- Porcelain-Coated Cast-Iron Pot
Ingredients
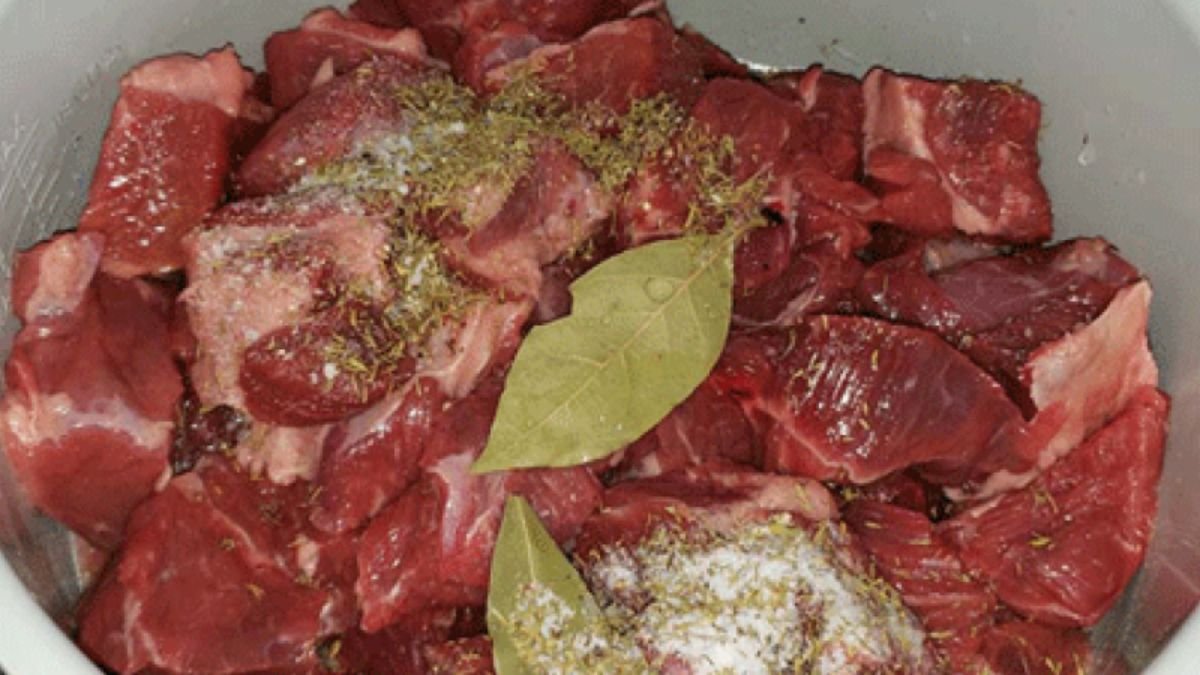
- 5 lb Beef Chuck cut into 1-inch cubes
- ¾ cup All Purpose Flour for dredging
- 4 oz Beef Fat or avocado oil
- 2 cups Onions fresh, chopped
- 1 Tbsp Garlic minced
- 750 ml Red Wine one that you would drink
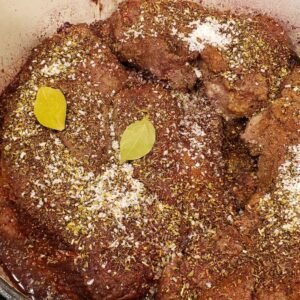
- 2 Bay Leaves dried
- 2 tsp Thyme dried
- 1 tsp Oregano dried
- 2 Tbsp Kosher Salt Morton brand
- 2 tsp Black Pepper ground
Instructions
Prep
- Preheat oven to 350°F.
- Trim any large fat veins from the chuck roast.
- Cut the beef into 1-inch cubes.
- Dredge the cubed beef in all purpose flour, shaking off excess.
Sear
- Heat a Dutch oven or cast iron skillet over medium-high heat.
- Render the trimmed beef fat or use beef fat or avocado oil if needed.
- Remove any cracklins and reserve.
- Working in batches to avoid crowding, sear the dredged beef cubes on all sides until golden brown, about 4-5 minutes per batch.
- Remove and set aside.
Build the Braise
- In the same Dutch oven, sauté the chopped onions in the remaining beef fat.
- Season with a pinch of salt.
- When the onions are translucent and golden, add the minced garlic and sauté for 30 seconds.
- Add the full bottle of red wine.
- Simmer until the wine is reduced by about half.
- Return the seared beef to the Dutch oven.
- Add bay leaves, thyme, oregano, kosher salt, and black pepper.
- Stir to combine.
Braise
- Cover with a tight-fitting lid and place in the oven.
- Cook at 350°F for 1 hour.
- Reduce to 275°F and cook for 3 additional hours until the meat falls apart with gentle pressure from a fork.
Finish
- Remove from oven.
- Discard bay leaves.
- If the braising liquid is too thin, place the Dutch oven on the stovetop over medium heat and simmer uncovered for 10-15 minutes to reduce.
Notes
Why Batch Stew Beef
It's Tuesday night. You've been grinding since morning. You're exhausted, hungry, and the idea of browning meat, deglazing a pan, and waiting 90 minutes for beef to braise sounds impossible. This is exactly when batch stew beef saves you. Pull a vacuum-sealed portion from the freezer, drop it in simmering water for 15 minutes while rice cooks, and you've got fall-apart tender beef in rich gravy that tastes like you spent all afternoon cooking. Because three weeks ago on Sunday, you did. But that was Sunday-you doing Future Tuesday-you a massive favor.
The Restaurant Method
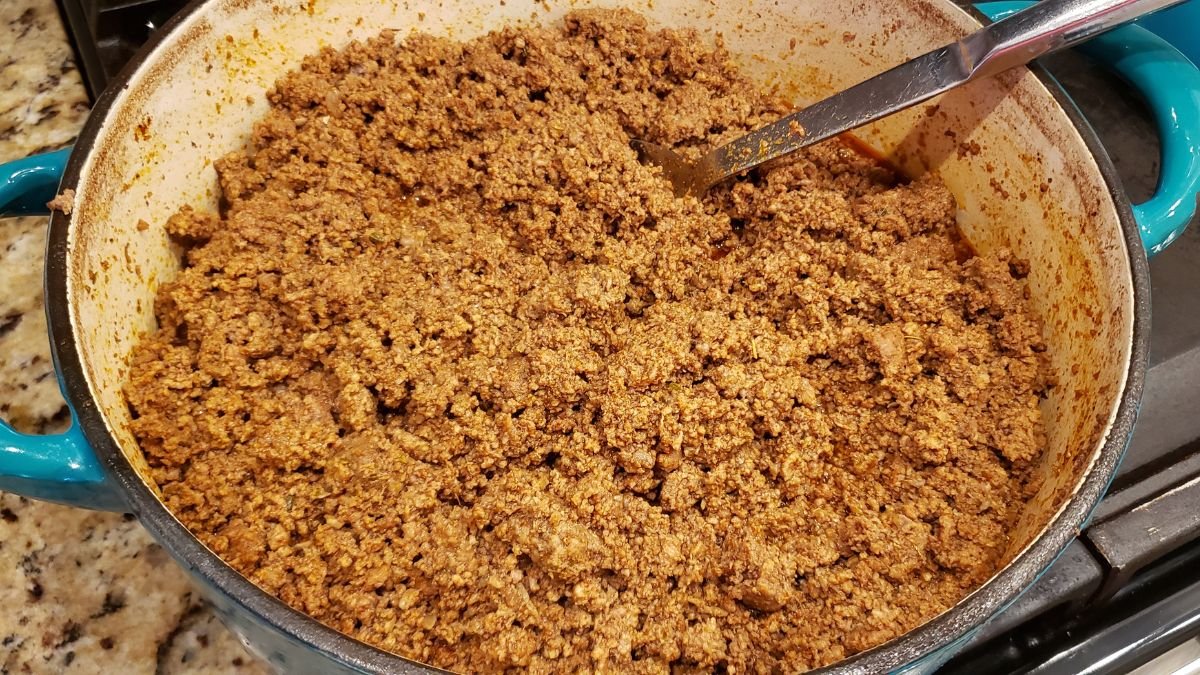
This is one of my original batch components-a variation on the soup beef I've been making for years. The difference is in the beginning: the beef chuck gets dredged in seasoned flour before browning. That flour coating does double duty. First, it creates a gorgeous sear with deep caramelization. Second-and this is the genius part-as the beef braises low and slow, that flour becomes the roux that thickens your sauce. You're building the gravy right into the meat as it cooks. No whisking flour into liquid later, no lumps, no stress. The beef chuck becomes so tender and delicious, and you've got the flour built right in with the roux.
What Makes This Worth the Time
Beef chuck is the perfect candidate for batch cooking because it needs time to transform. That connective tissue and marbling require hours of low, moist heat to break down into fork-tender, flavorful beef. You're running your oven for 2+ hours whether you're cooking one pound or ten-the time investment is identical. The flour dredge adds minimal prep time but delivers maximum convenience later. When you reheat this beef, you're not adding thickener to watery braising liquid-you already have proper gravy. Use it as the base for beef stew, beef and noodles, beef and rice with gravy, shepherd's pie, pot pies. It's a fantastic base to make other dishes because the foundational work is already done.
Time Investment & Meal Yield
Here's the honest math on what you're building with this batch:
What You're Actually Building
- Active prep: 45 minutes hands-on (cutting beef chuck into chunks, dredging in seasoned flour, browning in batches, building the braising liquid)
- Passive cooking: 2 hours in the oven (you're watching TV, meal prepping other components, living your life while this transforms)
- Portioning & sealing: 20 minutes (cooling slightly, dividing into vacuum bags with plenty of that gravy, sealing, labeling with date)
- Result: 10 generous portions = 10 complete dinners over the next 3 months
The Real-World Timeline
You'll probably use one portion this week to quality-check your work. Maybe two more go into easy weeknight dinners over the next couple weeks-beef and egg noodles one night, beef stew with frozen vegetables another. The remaining seven sit in your freezer as insurance against those brutal nights when cooking from scratch isn't happening. Over three months, you'll pull these out for quick comfort food: beef over mashed potatoes, beef and rice bowls, open-faced hot beef sandwiches with gravy. Each time takes 20 minutes total and tastes like you tried way harder than you did.
Storage & The Freezer Reality
Let's address the concern about frozen food head-on: "But it's been in my freezer for two months!" So what? That frozen lasagna at Costco was frozen at the manufacturing plant for weeks, sat in a distribution center freezer for more weeks, then lived in the store freezer before you bought it. We're talking months of frozen storage before it even entered your house, and the label says it's good for another 6-12 months. Your batch stew beef is exponentially fresher than any prepared meal you're buying in a box.
Why Vacuum Sealing Changes Everything
- Flat storage: Bags stack like files in a drawer-no more playing freezer Tetris with round containers that waste space
- Fast thawing: Overnight in the fridge for next-day use, or same-night reheat straight from frozen in simmering water (15 minutes)
- Zero freezer burn: No air exposure means 3-6 month freezer life with zero quality degradation-tastes just-cooked when reheated
- Professional standard: This is exactly how restaurant kitchens store braised meats between prep day and service
The Commercial Food Comparison
Commercial frozen meals follow this timeline: manufactured and frozen, shipped to regional distributor freezers, delivered to grocery store freezers, displayed for sale, then purchased for your freezer. That's easily 2-4 months of frozen storage before you even buy it. Your stew beef? Cooked fresh in your kitchen with beef chuck you selected, sealed immediately after cooking, frozen in your own freezer. You controlled the quality of every ingredient, there are no preservatives or stabilizers, and it's fresher than anything in the prepared foods section. The flour-based gravy reheats perfectly because fat and starch create stable emulsions that hold through freeze-thaw cycles.
Cost Breakdown
Let's do the actual math on what this batch costs versus what you'd pay for equivalent quality meals:
Batch Cost Calculation
Ingredients breakdown:
- Beef chuck: 10 lbs × $4.99/lb (Sam's Club price) = $49.90
- Flour, onions, garlic, beef broth, oil, seasonings: $8.00
- Total batch cost: $57.90
- Portions created: 10
- Cost per portion: $57.90 ÷ 10 = $5.79
The Savings Add Up
Per-meal comparison:
- Homemade portion: $5.79
- Restaurant pot roast or beef tips dinner: $16.99 (typical family restaurant price)
- Savings per meal: $16.99 - $5.79 = $11.20
- Total batch savings: $11.20 × 10 portions = $112.00 saved versus restaurant dining
Even comparing to cheaper options like Boston Market or Cracker Barrel takeout beef dinners ($12-13), you're saving $6.50 per meal, or $65 across the entire batch. And the quality isn't even comparable-this is slow-braised beef chuck with real pan drippings and proper technique, not steam-table food.
Using This Component
Here's how this braised stew beef becomes actual Tuesday night dinners without additional stress:
Quick Assembly Meals
- Classic Beef Stew: Thaw overnight, reheat with frozen mixed vegetables and diced potatoes for 20 minutes-the gravy is already built in, just add vegetables and you're done
- Beef and Egg Noodles: Reheat from frozen in simmering water while egg noodles cook (both done in 15 minutes), toss together with butter and parsley-pure comfort food
- Beef and Rice with Gravy: Quick reheat while rice cooks, serve the tender beef and that flour-thickened gravy over rice-feels like Sunday dinner on a Tuesday
- Hot Beef Sandwiches: Warm the beef and gravy, pile onto white bread or Texas toast, pour extra gravy over the top-diner classic at home in 15 minutes
- Shepherd's Pie Base: Use as the bottom layer with vegetables, top with mashed potatoes, bake until golden-the gravy keeps everything moist and flavorful
This is how you stock a professional kitchen at home. You're not meal prepping like some productivity influencer-you're operating like a restaurant with a properly stocked walk-in freezer. Cook once on Sunday with cheap beef chuck, pull from your freezer for weeks, reclaim your Tuesday nights, and stop paying $17 for what you made for $5.79. That flour dredge does the work for you, creating rich gravy as the beef braises. Your future exhausted self will thank you.
Recipe
Stew Beef
Equipment
- Dutch Oven
- Cast iron skillet
- FoodSaver Vacuum Sealer
- FoodSaver 1-Gallon Bags
- Porcelain-Coated Cast-Iron Pot
Ingredients
- 5 lb Beef Chuck cut into 1-inch cubes
- ¾ cup All Purpose Flour for dredging
- 4 oz Beef Fat or avocado oil
- 2 cups Onions fresh, chopped
- 1 tablespoon Garlic minced
- 750 ml Red Wine one that you would drink
- 2 Bay Leaves dried
- 2 teaspoon Thyme dried
- 1 teaspoon Oregano dried
- 2 tablespoon Kosher Salt Morton brand
- 2 teaspoon Black Pepper ground
Instructions
Prep
- Preheat oven to 350°F.
- Trim any large fat veins from the chuck roast.
- Cut the beef into 1-inch cubes.
- Dredge the cubed beef in all purpose flour, shaking off excess.
Sear
- Heat a Dutch oven or cast iron skillet over medium-high heat.
- Render the trimmed beef fat or use beef fat or avocado oil if needed.
- Remove any cracklins and reserve.
- Working in batches to avoid crowding, sear the dredged beef cubes on all sides until golden brown, about 4-5 minutes per batch.
- Remove and set aside.
Build the Braise
- In the same Dutch oven, sauté the chopped onions in the remaining beef fat.
- Season with a pinch of salt.
- When the onions are translucent and golden, add the minced garlic and sauté for 30 seconds.
- Add the full bottle of red wine.
- Simmer until the wine is reduced by about half.
- Return the seared beef to the Dutch oven.
- Add bay leaves, thyme, oregano, kosher salt, and black pepper.
- Stir to combine.
Braise
- Cover with a tight-fitting lid and place in the oven.
- Cook at 350°F for 1 hour.
- Reduce to 275°F and cook for 3 additional hours until the meat falls apart with gentle pressure from a fork.
Finish
- Remove from oven.
- Discard bay leaves.
- If the braising liquid is too thin, place the Dutch oven on the stovetop over medium heat and simmer uncovered for 10-15 minutes to reduce.
Was this helpful?
You must be logged in to post a comment.