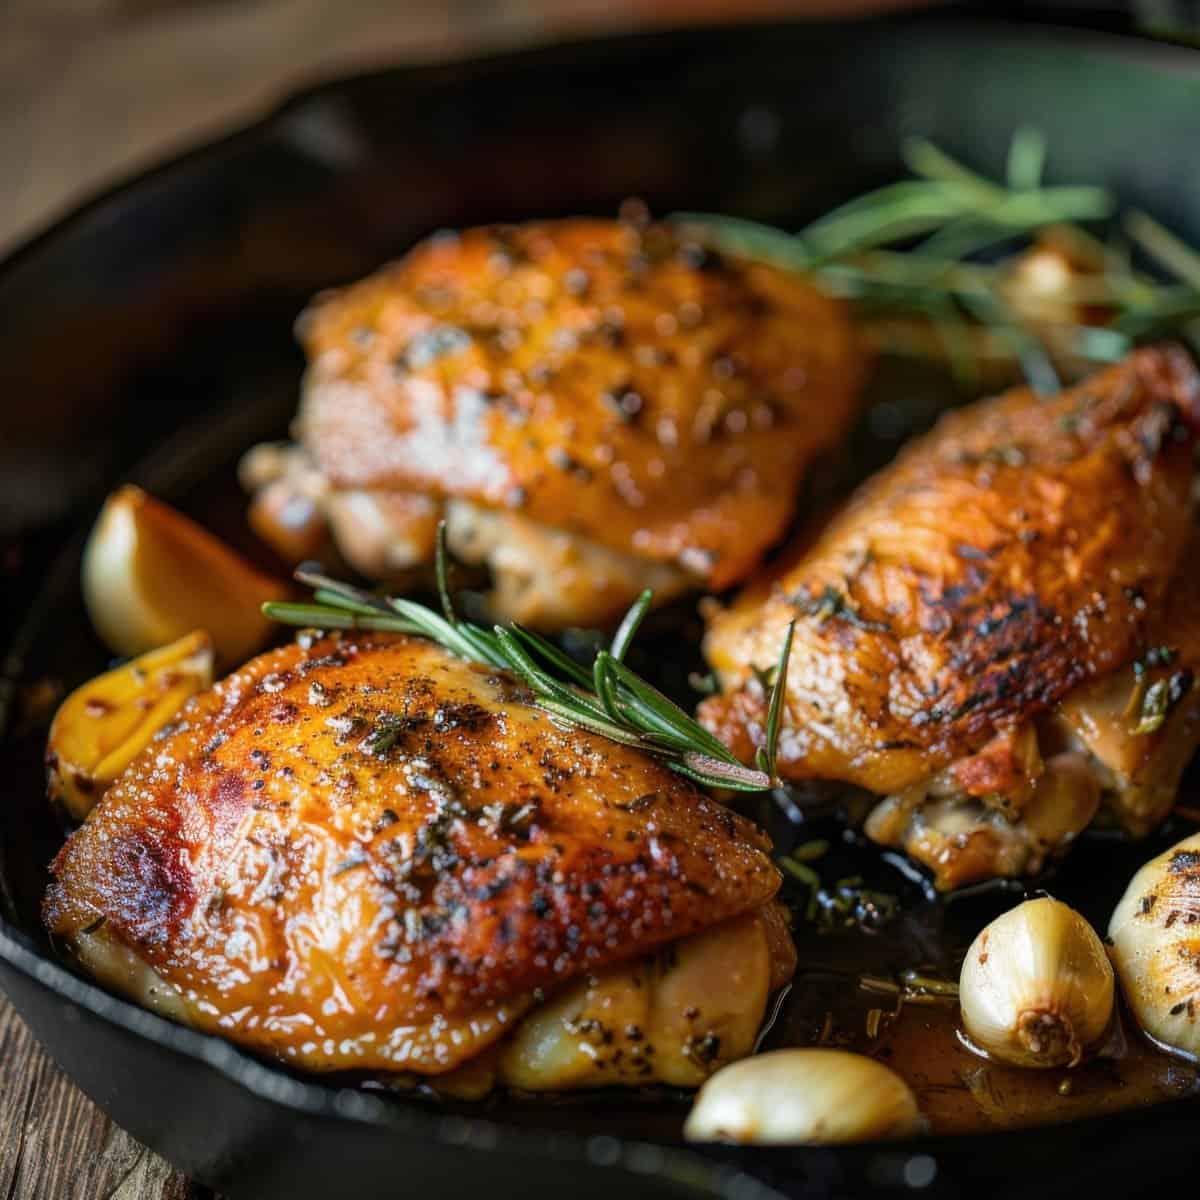
Batch Roasted Chicken Thighs (bone-in, skin-on)
Ingredients
Equipment
Method
- Pat the chicken thighs completely dry with paper towels.
- Combine kosher salt, brown sugar, black pepper, garlic powder, onion powder, and smoked paprika in a small bowl.
- Carefully lift the skin on each thigh and apply about 60% of the dry brine directly on the meat under the skin.
- Apply the remaining 40% over the skin.
- Place on a wire rack over a sheet pan.
- Refrigerate uncovered for 24-48 hours.
- Preheat oven to 425°F.
- Line 2 half-sheet pans with parchment paper.
- Arrange the thighs skin-side up in a single layer.
- Roast for 35-45 minutes until the internal temperature reaches 165°F and the skin is golden brown and crispy.
- Remove from oven and let rest for 10 minutes.
Notes
Tried this recipe?
Let us know how it was!Why Batch Roasted Chicken Thighs
It's Tuesday at 6 PM. You're exhausted from work, the kids need to eat, and you're staring down an hour of cooking just to get chicken on the table. This is exactly when that vacuum-sealed bag of roasted chicken thighs in your freezer becomes the hero of your night. Pull it out, reheat it while rice cooks, and you've got restaurant-quality protein on the table in twenty minutes instead of ninety. This isn't meal prep-this is stocking your freezer like a professional walk-in.
Chicken thighs are the batch cooker's secret weapon. They're cheaper than breasts by at least two dollars per pound. They're loaded with fat and connective tissue, which means they're nearly impossible to overcook and they actually taste better after being reheated-the opposite of dry chicken breast. And because you're roasting them bone-in and skin-on, you get built-in insurance: the bone insulates the meat during cooking and the skin renders fat that continuously bastes everything underneath. This is an excellent batch meat to have ready in the freezer whenever you want the thigh bones to help create broth flavor in a dish or when you want the crispiness of the skin on the plate.
The Restaurant Method
Professional kitchens don't cook protein to order for every single ticket during service. They batch roast chicken thighs during prep, portion them into storage containers, and reheat to order. You're doing the same thing, just with a home freezer instead of a reach-in cooler. The key is keeping the seasoning neutral-salt, pepper, garlic powder, maybe some paprika-so these thighs can slide into Mexican food on Monday, an Asian-style grain bowl on Tuesday, and a Mediterranean salad on Wednesday without fighting the flavors of those meals.
What Makes This Worth the Time
Roasting at high heat on a sheet pan with space between each piece is critical. Crowding steams the skin instead of crisping it-same principle as browning ground beef in batches. You want that Maillard reaction, the browning that creates flavor. Pat the skin dry before seasoning because moisture is the enemy of crispy skin. Pull the thighs at 175°F internal, not the standard 165°F. Thighs have more connective tissue than breasts, and that extra ten degrees renders it out completely so the meat is juicy instead of chewy. Let them cool completely before portioning-this stops carryover cooking and makes vacuum sealing cleaner.
You're storing them with the bone still in. It keeps the meat moister during reheating and freezing. When you're ready to use a portion, that's when you pull the meat off the bone. It takes two minutes and the bone comes away clean from properly cooked thighs. We batch these and put four per package, vacuum seal them, and freeze. That gives you enough for two generous portions or one meal for a family of four.
Time Investment & Meal Yield
Here's the honest math on what you're building when you commit to this batch.
What You're Actually Building
- Active prep: 10 minutes hands-on (pat dry, season the thighs, arrange on sheet pans)
- Passive cooking: 40 minutes in the oven (you're free to do laundry, answer emails, watch TV)
- Portioning & sealing: 15 minutes (cool, bag in groups of four, vacuum seal, label with date)
- Result: 8 portions (2 bags of 4 thighs each) = 4-6 complete meals over the next month
The Real-World Timeline
You roast these thighs on a Sunday afternoon. By Wednesday, you're pulling a bag for chicken tacos. The following Monday, another bag goes into a grain bowl. Two weeks later, you shred one for chicken salad. A month from now, the last bag becomes pizza topping. That initial hour of work spreads across four to six dinners, each one taking twenty minutes instead of ninety because the protein is already handled.
Storage & The Freezer Reality
Let's address the elephant in the room: "But it's been frozen for weeks!" Yeah, and so has every frozen pizza in your grocer's freezer case. Those pizzas sit in the manufacturer's warehouse freezer for weeks, then the distributor's freezer for more weeks, then the grocery store freezer, and they're expected to sit in your freezer for months. Your vacuum-sealed chicken thighs are fresher and higher quality than any of that.
Why Vacuum Sealing Changes Everything
- Flat storage: Bags stack efficiently in your freezer, no Tetris required, no containers taking up unnecessary space
- Fast thawing: Overnight in the fridge or quick reheat the same night in simmering water-the thin, flat shape thaws faster than a chunky container
- Zero freezer burn: No air exposure means 3-6 month freezer life with the same quality as day one
- Professional standard: This is exactly how restaurants store batch prep for service-vacuum sealed portions pulled as needed
The Commercial Food Comparison
That rotisserie chicken at the grocery store? It was likely cooked this morning, maybe yesterday, sitting under heat lamps losing moisture. Your frozen roasted thighs, pulled from the freezer and reheated, will be juicier and taste fresher because they were sealed at peak quality immediately after cooking. Commercial frozen chicken products sit in supply chain freezers for months before reaching store shelves. Your chicken thighs go from oven to vacuum bag to your freezer in under an hour. You're operating with restaurant-grade storage methods that preserve quality better than anything you can buy prepared.
Cost Breakdown
Let's do the actual math on what this batch costs you versus buying prepared chicken or ordering out.
Batch Cost Calculation
Ingredients breakdown:
- Chicken thighs (bone-in, skin-on): 8 pieces (about 4 lbs) × $1.79/lb = $7.16
- Seasonings (salt, pepper, garlic powder, paprika): $0.50
- Total batch cost: $7.66
- Portions created: 2 bags (4 thighs each)
- Cost per portion: $7.66 ÷ 2 = $3.83
The Savings Add Up
Per-meal comparison:
- Homemade portion (4 thighs): $3.83
- Rotisserie chicken (whole): $6.99
- Restaurant chicken entrée: $14.00
- Savings per meal vs. rotisserie: $6.99 - $3.83 = $3.16
- Savings per meal vs. restaurant: $14.00 - $3.83 = $10.17
- Total batch savings vs. rotisserie: $3.16 × 2 portions = $6.32
- Total batch savings vs. restaurant: $10.17 × 2 portions = $20.34
Even if you only compare this to buying rotisserie chicken-the cheapest prepared option-you're saving over six dollars per batch. Compare it to restaurant chicken dinners and you've saved twenty dollars. Plus, you control the seasoning, the quality of the chicken thighs, and exactly how they're cooked.
Using This Component
Here's how vacuum-sealed roasted chicken thighs turn into actual dinners on weeknights when you're too tired to think.
Quick Assembly Meals
- Chicken Tacos: Thaw overnight or quick-reheat in simmering water, pull meat off bones, toss with taco seasoning, warm in a pan for five minutes. Serve with tortillas, salsa, and cilantro. Twenty minutes total.
- Grain Bowls: Reheat while cooking rice or quinoa, pull meat from bones, slice or shred, serve over grains with roasted vegetables and your favorite sauce. Twenty-five minutes.
- Chicken Salad: Thaw overnight, shred the meat, mix with mayo, celery, grapes, and pecans. Serve on bread or lettuce. Fifteen minutes of hands-on work.
- Pizza Topping: Thaw, pull meat from bones, chop, scatter over pizza dough with mozzarella and whatever else you want. Adds protein to pizza night without extra cooking.
- Broth-Based Dishes: Reheat thighs directly in soup or stew where the bones add flavor to the broth while the meat heats through, then pull the bones out before serving.
This is how you stock a professional kitchen at home. You cook once on Sunday, portion into vacuum-sealed bags, and pull them as needed over the next month. Each dinner takes twenty minutes instead of ninety. You save twenty dollars compared to restaurant meals. And on Tuesday night when you're exhausted, your freezer is the hero that keeps you from ordering takeout again.
Recipe
Batch Roasted Chicken Thighs (bone-in, skin-on)
Ingredients
Equipment
Method
- Pat the chicken thighs completely dry with paper towels.
- Combine kosher salt, brown sugar, black pepper, garlic powder, onion powder, and smoked paprika in a small bowl.
- Carefully lift the skin on each thigh and apply about 60% of the dry brine directly on the meat under the skin.
- Apply the remaining 40% over the skin.
- Place on a wire rack over a sheet pan.
- Refrigerate uncovered for 24-48 hours.
- Preheat oven to 425°F.
- Line 2 half-sheet pans with parchment paper.
- Arrange the thighs skin-side up in a single layer.
- Roast for 35-45 minutes until the internal temperature reaches 165°F and the skin is golden brown and crispy.
- Remove from oven and let rest for 10 minutes.


Was this helpful?
You must be logged in to post a comment.